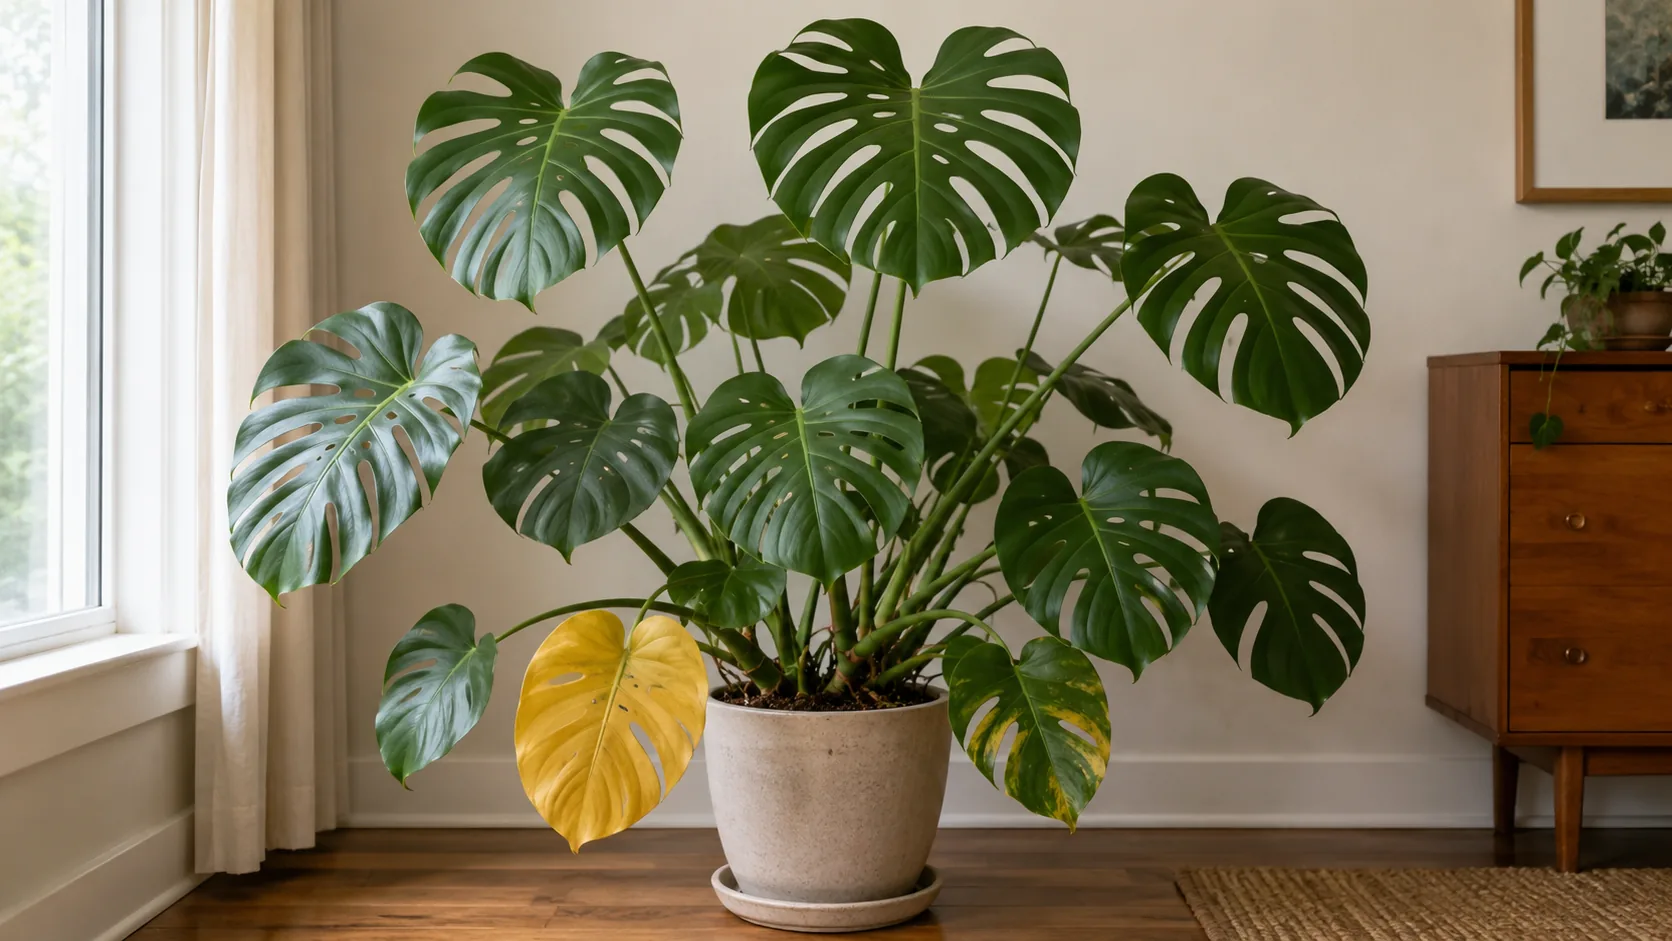
Yellow Monstera leaves are not a diagnosis. A single old lower leaf can age naturally, while several yellow leaves can point to dry soil, saturated roots, or sap-feeding pests. The fastest safe approach is to map where the yellowing starts, check the root zone, and inspect both sides of the leaves before changing your care routine.
This decision guide is designed to prevent the two most common mistakes: watering an already saturated plant and treating root damage as a pest problem.
Start with the yellowing pattern
Photograph the whole plant before removing anything. Note which leaves changed first and whether the damage is spreading.
| Pattern | More likely explanations | What to check next |
|---|---|---|
| One oldest lower leaf turns evenly yellow | Natural leaf aging, especially if new growth is healthy | Confirm the rest of the plant is firm and stable |
| Several lower leaves yellow while the pot stays heavy | Excess moisture, poor drainage, or root damage | Inspect deep soil moisture, drainage holes, and roots |
| Leaves yellow and curl while the root ball is very dry | Watering stress or a root ball that repels water | Compare pot weight and inspect moisture through the full pot |
| Fine pale or yellow stippling spreads across leaves | Spider mites or thrips | Inspect leaf undersides, veins, and new growth with a hand lens |
| Silvery scars, distorted new growth, and black specks | Thrips feeding and fecal spots | Isolate the plant and confirm insects before treating |
| Yellowing follows a sudden move into strong direct sun | Light stress | Check whether the exposed leaf surfaces are bleached or scorched |
Monstera can develop root rot when kept too wet, and Penn State Extension recommends letting the soil dry between waterings. Do not use leaf color alone to decide that the plant needs more water.
Wet soil versus dry soil checks
Run all three checks because the surface can be dry while the center remains saturated.
- Lift the pot. Compare its weight with the same pot immediately after a thorough watering. A pot that remains heavy for many days suggests that the root zone is holding too much water.
- Probe the root zone. Insert a clean wooden skewer close to the center and leave it for several minutes. Cool, muddy residue supports excess moisture. A clean, dry skewer supports drought stress.
- Check drainage. Confirm that water can leave the container and that the inner nursery pot is not standing in water inside a decorative cover.
If the root ball is extremely dry and has pulled away from the pot, water slowly in two passes and let all excess drain. If the center is wet, do not add water to correct yellowing. Move to the root inspection.
Healthy roots versus rotting roots
Root inspection is justified when the soil stays wet, the pot smells sour, several leaves yellow together, or the stem base softens.
Slide the root ball out while supporting the stems. Healthy Monstera roots are generally firm and cream colored. Brown roots that are soft or mushy indicate overwatering or poor drainage, consistent with University of Minnesota Extension guidance. Soil can stain healthy roots tan, so texture and smell matter more than color alone.
| Root finding | Meaning | Action |
|---|---|---|
| Firm cream or pale roots | Functioning roots | Return the plant to the pot and correct the watering trigger |
| Firm tan roots without a rotten smell | Often normal staining | Avoid unnecessary cutting |
| Dark, soft roots whose outer layer slips away | Rotting tissue | Remove damaged roots with disinfected tools |
| Soft stem or crown tissue | Advanced damage | Cut back to firm tissue and preserve a healthy node for propagation if possible |
After removing rot, use fresh, airy mix in a clean pot with drainage. Do not move a reduced root system into an oversized container. Avoid fertilizer until the plant has stabilized and resumed healthy growth.
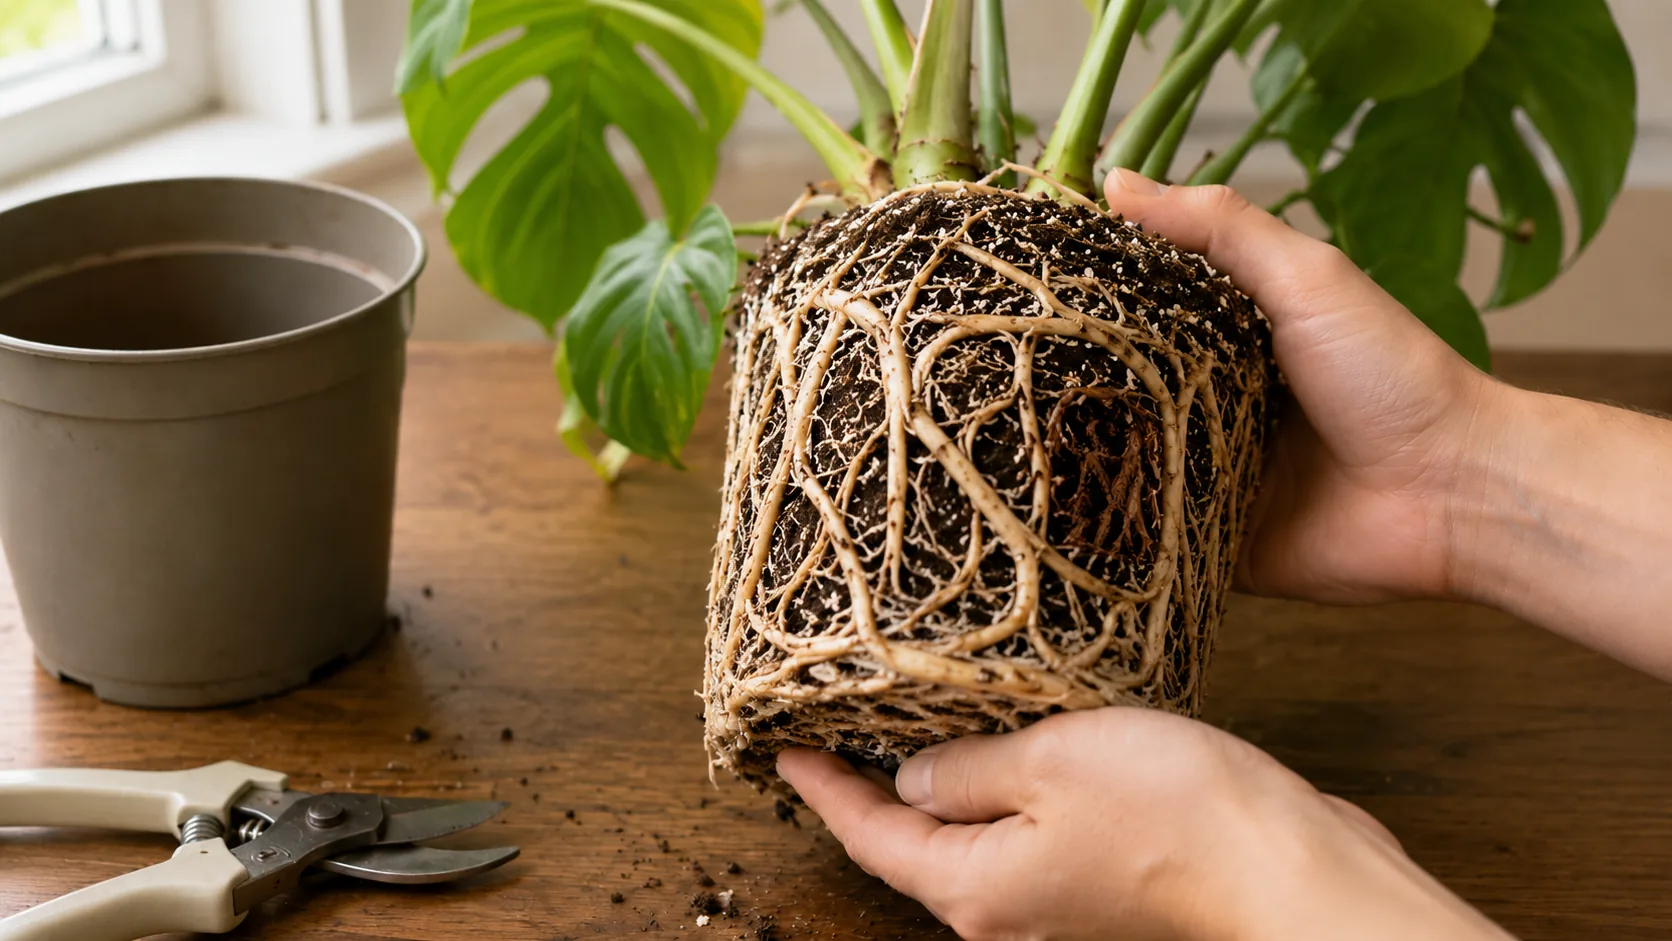
Illustrative inspection view. Use root texture, smell, and moisture together rather than color alone.
Thrips damage versus spider mite damage
Both pests can produce pale areas, so use the feeding pattern and visible evidence together.
| Evidence | Thrips | Spider mites |
|---|---|---|
| Leaf damage | Silvery or gray scars, streaks, distortion, and scattered pale areas | Dense white or yellow stippling that can merge into bronzing |
| Dark evidence | Tiny shiny black fecal spots can appear beside feeding scars (UC IPM) | Black fecal spots are not the defining sign |
| Webbing | Not produced | Fine webbing can appear, especially in heavier infestations (University of Minnesota Extension) |
| Where to inspect | New growth, leaf folds, veins, and both leaf surfaces | Leaf undersides and areas where leaves meet stems |
| Movement | Slender insects may move quickly when disturbed | Mites appear as tiny moving dots under magnification |
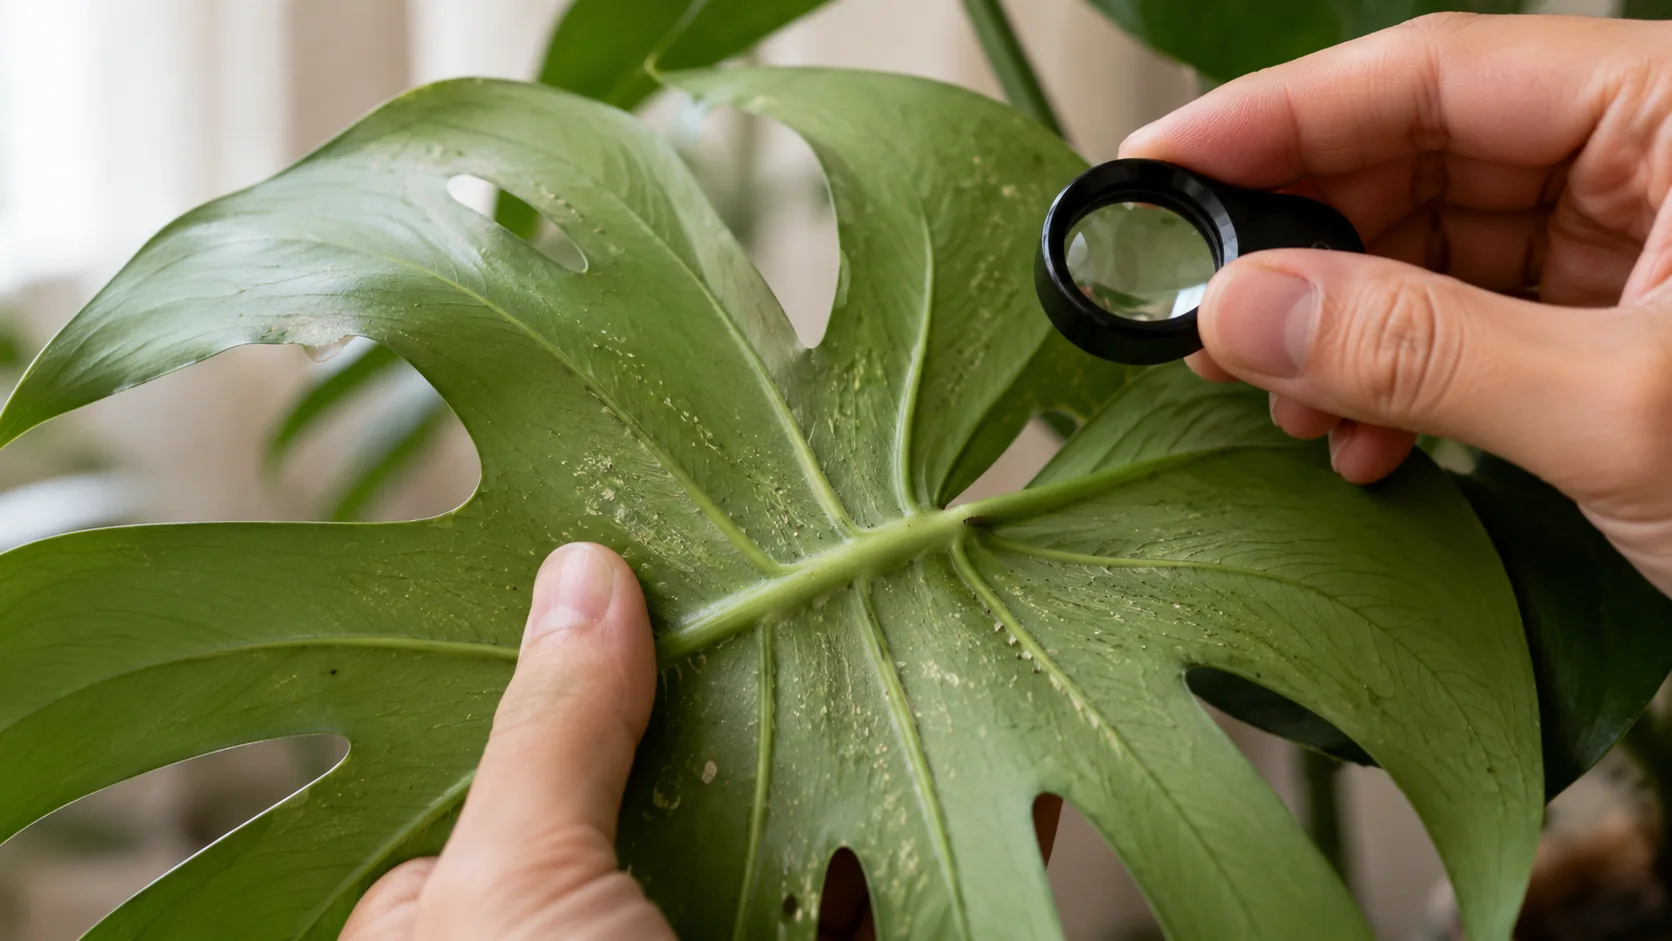
Illustrative inspection view. Confirm a pest with several signs before choosing a treatment.
If you find silvery scarring and black specks, follow the dedicated thrips control guide for Monstera and Philodendron. For a closer visual comparison, use the thrips versus spider mites guide.
Do not apply a pesticide only because a leaf is yellow. Confirm the pest, isolate the plant, and inspect nearby plants first.
What to do in the first 24 hours
- Move the affected plant away from other plants if pest evidence is present.
- Photograph the yellowing pattern, leaf undersides, soil surface, and roots if inspection is justified.
- Measure deep soil moisture and pot weight before watering.
- Empty standing water from the outer pot or saucer.
- Remove only leaves or roots that are fully dead, mushy, or heavily infested. Keep useful green tissue.
- Choose one primary response: rehydrate a genuinely dry root ball, correct saturated soil and rot, or begin a confirmed pest plan.
- Record the date and conditions so the next change can be judged against evidence.
Avoid repotting, fertilizing, changing light, and treating for pests all on the same day unless the plant has both confirmed rot and a confirmed infestation. Too many changes make the response harder to read and add stress.
Recovery expectations
A yellow or scarred leaf will not turn back into healthy green tissue. The recovery signals are no new spreading yellow, a firm stem and root system, reduced pest evidence, and healthy new growth.
- Dry root ball corrected early: leaf firmness may improve over several days, but damaged areas remain.
- Roots trimmed for rot: stabilization can take several weeks. Judge progress by the absence of spreading softness and by new root or leaf growth.
- Thrips or spider mites: continue inspections after the first treatment because eggs and hidden life stages can outlast a single intervention.
- One naturally aging lower leaf: the rest of the plant should remain firm and continue growing.
Remove a damaged leaf when it is fully yellow, soft, or heavily infested. Keep a partly green, firm leaf while the plant is rebuilding unless it interferes with pest control.
Prevent the same pattern from returning
- Water from the root-zone evidence rather than a fixed calendar.
- Use a pot with drainage and an airy mix that does not remain saturated.
- Inspect new plants before placing them near the Monstera.
- Check leaf undersides during routine watering so stippling, webbing, or black specks are caught early.
- Keep the plant in suitable bright, indirect light and avoid abrupt exposure to harsh sun.
If pet safety is part of your plant choice, Monstera is not considered cat safe. Review these cat-safe Monstera alternatives rather than placing a Monstera where a cat can chew it.
References
- Penn State Extension. (2023). Monstera as a Houseplant.
- University of Minnesota Extension. (2024). Propagating Monstera deliciosa.
- University of California Statewide Integrated Pest Management Program. (n.d.). Houseplant Problems.
- University of Minnesota Extension. (2024). Spider Mites.