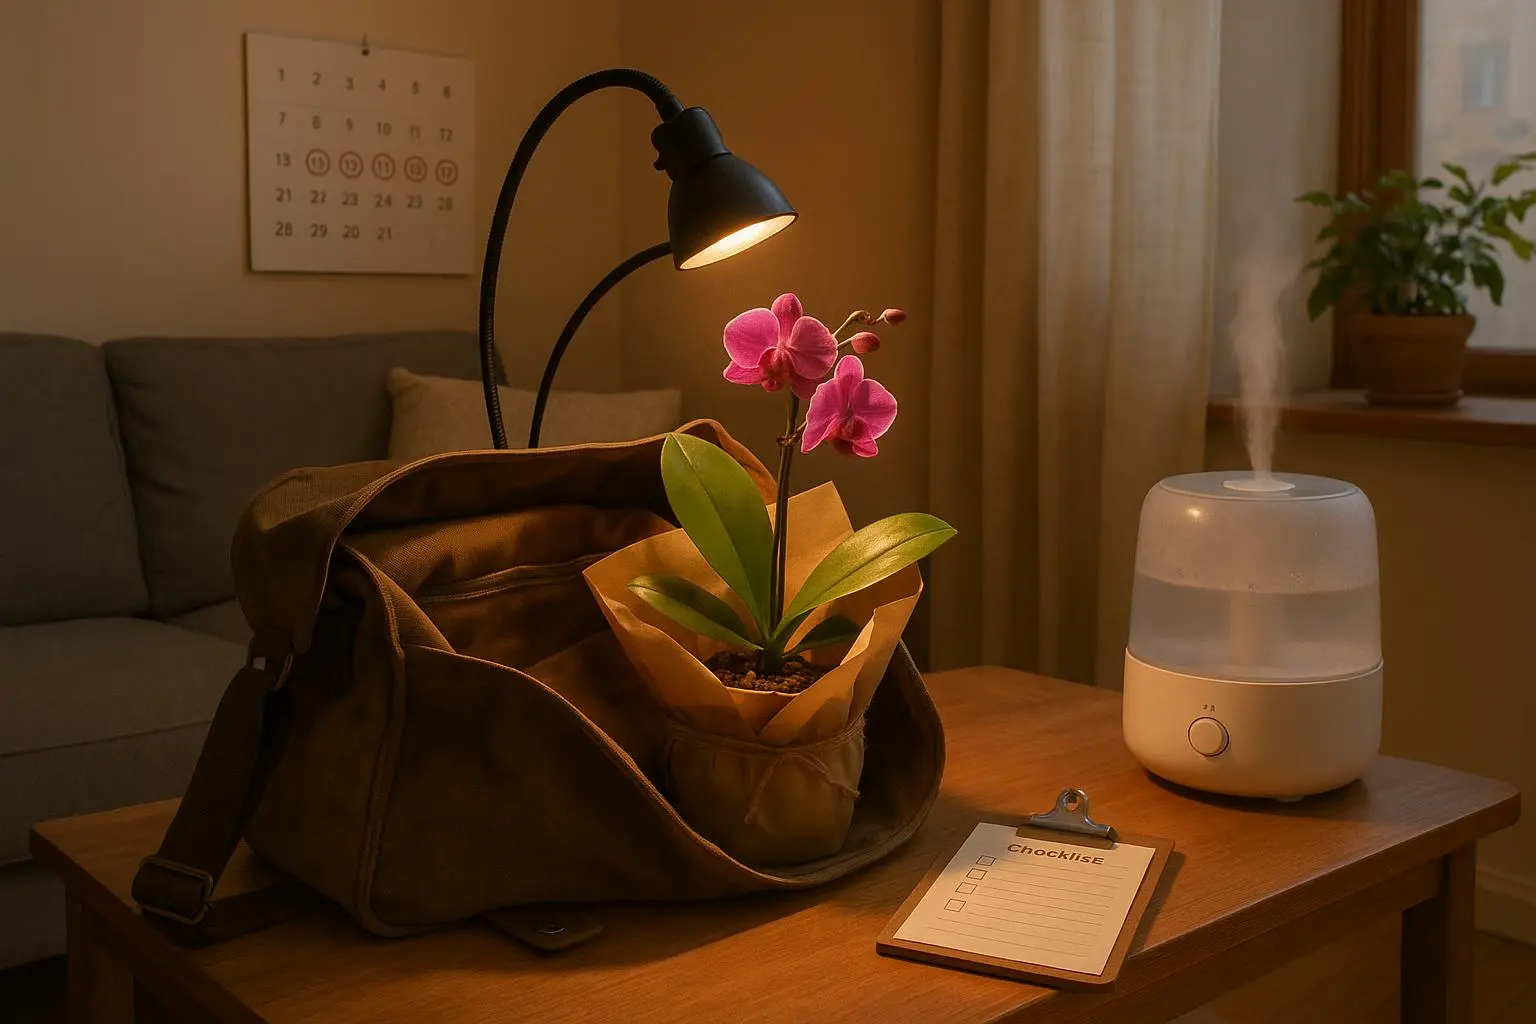
If you’ve ever watched a newly purchased orchid sulk the moment you set it on a new shelf, you know the feeling. Joy fades fast when buds start to yellow and fall off, like someone pulled the rug out from under a flowering miracle. I learned this the hard way with a pristine Phalaenopsis hybrid that traveled with me from a greenhouse to a sun-drenched apartment. The first week, I swore the plant was fine. By day ten, half the buds were gone. Not because I’d killed it with neglect, but because I hadn’t accounted for the stress of relocation. Bud blast is real, and it’s sneaky.
This is why I built a 21-day acclimation protocol. It’s not a gimmick or a rigid drill sergeant schedule. It’s a gentle, science-informed rhythm that helps the orchid breathe and settle into its new home. Think of it as a bridge between “this plant is alive and well” and “this plant is thriving.” It’s especially useful if you’re in a small space or an apartment, where climate control can feel like a constant negotiation with the weather.
A quick aside I’ll tuck into the moment of truth: I once used a humidifier so aggressively during Day 8 that the room smelled faintly of rain. It sounded ridiculous, but the plant responded with a fresh sheen to its leaves and a firm, steady root look. Micro-moments like that are the little clues that tell you you’re on the right track.
Day-to-day, here’s how I’ve found the plan actually sticks. And yes, I’ll share concrete numbers, concrete outcomes, and a few guardrails I’ve learned to depend on.
Why bud blast happens after moving
Let’s get practical. Orchids are not built to ride harsh swings in light, warmth, or humidity. A plant moved from a climate-controlled nursery into a living room can encounter:
- Light shock: too much or too little light, especially if the final spot is a sunlit east window or a shaded corner that suddenly becomes bright.
- Humidity drops: our apartments’ dry air in winter is a stealth killer.
- Temperature swings: drafts near windows, air-conditioning, or heaters generate stress.
- Water stress: inconsistent watering habits after transport can either drown delicate roots or dry them out.
- Handling trauma: rough repotting or rough handling during transit can injure roots and leaves.
What you’re fighting is not a disease in this stage. It’s shock. The acclimation plan is a way to time the plant’s exposure so it can absorb the move without dropping buds.
A couple of quick quotes from readers who’ve tried similar approaches show what we’re aiming for. One Reddit post from a long-time orchid lover said, “Three weeks in a separate room saves months of pest fighting.” That quip isn’t just about pests; it’s about giving the plant space to settle without competing stimuli. Another comment hits the practical core: “Don’t water until the medium is dry, and then water thoroughly. Patience is everything.” Those tiny, honest reminders are the backbone of the plan.
The 21-day acclimation protocol (week by week)
This is the part you can actually follow without turning your life into a full-time project. It’s designed to be adaptable for apartment growers and for people who don’t have a dedicated plant room.
Phase 0: Transit, arrival, and immediate quarantine (Day 0)
This is the foundation. If you’re driving the orchid home, treat it like a fragile glass sculpture: shield it from drafts, avoid cold car rides, and keep it out of direct exposure to heat or AC drafts.
Immediate checklist:
- Inspect packaging. Look for crushed leaves, loose media, or signs of pests.
- Quarantine for 21 days in a separate room away from other houseplants.
- Keep the plant in its final intended location but set up with lighter light than the target spot. You’re not there yet—just steady the ship.
- Do not water unless the media is bone dry. You’re avoiding root rot and water shock at the same time.
A little real-world note: I had a moment where I set a newly arrived orchid directly under a bright lamp to “speed things up.” Within 24 hours, the plant’s leaves showed a slight burn, and I learned to err on the side of dimmer, steadier light for the first few days.
Phase 1: Stabilization and observation (Days 1–7)
The goal here is simple: keep things the same and watch for trouble.
- Temperature and humidity: hold a steady 65–75°F (18–24°C). Humidity around 40–60% is ideal; avoid vents that blow hot or cold air directly on the plant.
- Light: low to medium light. If you know your final spot will be brighter, place the orchid a few feet away or diffuse the light with sheer curtains.
- Watering: don’t water unless the medium is dry and the roots are pale or silvery white.
- Pests: give the plant a once-over for thrips, mites, scale, or aphids. If you see anything, treat promptly but gently.
A real-world example helps crystallize this: I once watched a Phalaenopsis that sat in a dim corner for a week. It looked bored, sure, but within days after moving toward more filtered light, its leaves regained that glossy, healthy look, and I didn’t risk an over-watering mistake.
Phase 2: Gradual light ramp (Days 8–14)
Light is the trickiest variable to dial in. Too much too soon equals stress; too little stalls growth.
- Light ramp: bring the orchid closer to its final light source by 1–2 feet every two days. Watch for signs of stress: yellowing, reddening, or a pale, washed-out look.
- Humidity support: keep humidity stable at 60–70% if you can. If your space tends dry, consider a humidity tray or a small humidifier in the room.
- Watering cadence: water every 5–7 days, but only if the medium is dry. Let it dry slightly between waterings.
Here’s a small, practical guardrail I rely on: I keep a humidity gauge near the plant, just a cheap one. If it drops below 50% during this phase, I’ll mist the leaves lightly or bump humidity for a short period. It’s not dramatic, but it buys a lot of calm.
My own memory of this phase includes a moment when I realized the leaves’ sheen wasn’t a sign of excess moisture—it was the plant signaling it’s ready to take on a little more light. It’s a subtle difference, but you’ll learn to read it.
Phase 3: Humidity and temperature staging (Days 15–21)
Now we bring things to a steady rhythm that mirrors a more established home for the orchid.
- Target light: the final spot should provide bright, indirect light appropriate for the species. For Phalaenopsis, think strong but gentle light—avoid direct noon sun.
- Watering cadence: aim for a rhythm that matches your potting medium’s drying rate. In many cases, that’s every 7–10 days. If you see the top layer dry faster, adjust accordingly.
- Foliar support: on Day 21, you can opt for a very gentle foliar spray—diluted seaweed extract (kelp) or an orchid-safe foliar spray at 1/4 strength. Do not fertilize yet; the aim is to support recovery, not push growth while the plant is still stabilizing.
An important nuance here: avoid fertilizer until new growth appears. The goal is relief from stress, not acceleration of growth at the wrong time.
Small-space adaptations for apartment growers
If you don’t have a spare greenhouse, you can still stage a proper acclimation.
- Humidity management: use a humidity dome or a clear plastic storage bin as a micro-greenhouse around the plant. It creates a microclimate that’s easier to maintain in a dry apartment.
- Light control: a small LED grow light with a full spectrum set to a low intensity is your best friend. It allows precise control without cooking the plant.
- Humidity boost without risk: a pebble tray under the pot keeps moisture in the root zone without waterlogging.
- Temperature monitoring: a digital thermometer/hygrometer nearby helps you catch drafts or overnight temperature dips before they become problems.
- Rotation: rotate the plant every few days for even light distribution. It’s a tiny habit that prevents lopsided growth.
The apartment-specific tips aren’t glamorous, but they’re what makes the protocol doable in real life. The goal is consistent microclimates, not heroic feats of climate control.
A quick real-story check-in: what actually happened when I stuck to the plan
A few weeks after implementing this protocol with a high-value orchid, I saw something I hadn’t expected: the plant began to show a fresh flush of new growth right around the 18–20 day mark. The leaves looked deeper green, the root tips were showing a little white sheen, and the buds that had survived the move hadn’t just stayed; they were preparing to push. On Day 21, I felt comfortable leaving it in its final position and adjusting the humidity a touch lower for everyday life.
The outcome wasn’t a miracle moment, but it was measurable. The orchid didn’t lose any buds, and the plant entered a steady phase of growth and bloom readiness earlier than I expected. It’s not that the buds were guaranteed safe by a magical method; it was that the plant had a clear, gentle path to acclimation, and I respected it.
One more micro-moment I’ll share: during Phase 2, a quick check of the leaf surface showed a faint telltale bead of condensation on the underside of one leaf. It wasn’t a flood of moisture; it was a good sign—the plant was cycling humidity well enough to carry on. I made a tiny adjustment to the humidity level and moved on. Small details, big difference.
Delivery, transit, and a quick checklist you can print
- Inspect packaging for damage.
- Remove the orchid from the box and unwrap carefully.
- Let it rest in its original pot for 24 hours if it was just delivered in media.
- Quarantine for 21 days in a separate room.
- Check for pests and treat if needed.
- Avoid repotting during the acclimation period unless absolutely necessary.
Keeping a printed or pinned checklist is a surprisingly powerful way to stay on track. It’s easy to forget a step when life gets loud, especially in a small apartment with a busy schedule.
When to apply gentle foliar support
- After Day 15, if you notice stress signs such as yellowing leaves or very slow growth.
- Use a diluted foliar spray (1/4 strength) once a week.
- Do not fertilize until new growth appears and the plant looks actively healthy.
The idea behind foliar support is not to feed the plant harshly. It’s to reduce transplant shock and give it a gentle boost as it re-establishes itself in its new home.
Final tips you can actually act on
- Patience is non-negotiable. If you rush the light ramp or the humidity shift, you’ll backslide.
- Watch for new growth. That’s the bluebird singing you’re in the right zone.
- Don’t repot too soon. Orchids hate a stressed re-pot at the wrong moment.
- Use a microclimate. The closer you can keep the orchid to a stable environment, the fewer shocks it endures.
I keep a simple habit: I check in on the plant at roughly the same time each day for two minutes—just a quick glance at the leaves, the potting medium, and the color of the roots if visible. It’s nothing fancy, just consistent observation that helps me catch a stress signal before it becomes a problem.
Final thought: this plan is a commitment, not a gimmick
If you’re a person who wants to keep your orchid blooming and healthy through a move, this 21‑day plan isn’t optional. It’s the difference between a plant that survives the move and one that thrives in its new home. The gains aren’t just aesthetic—healthy plants last longer, bloom more reliably, and reward you with the quiet joy of a thriving corner in your living space.
If you’re dealing with a high-value orchid or a rare species, the same framework applies, but you may want to tailor light intensity, humidity, and temperature targets to the specific needs of that plant. In those cases, keep your notes and adjust gradually. And when in doubt, err on the side of gentleness.