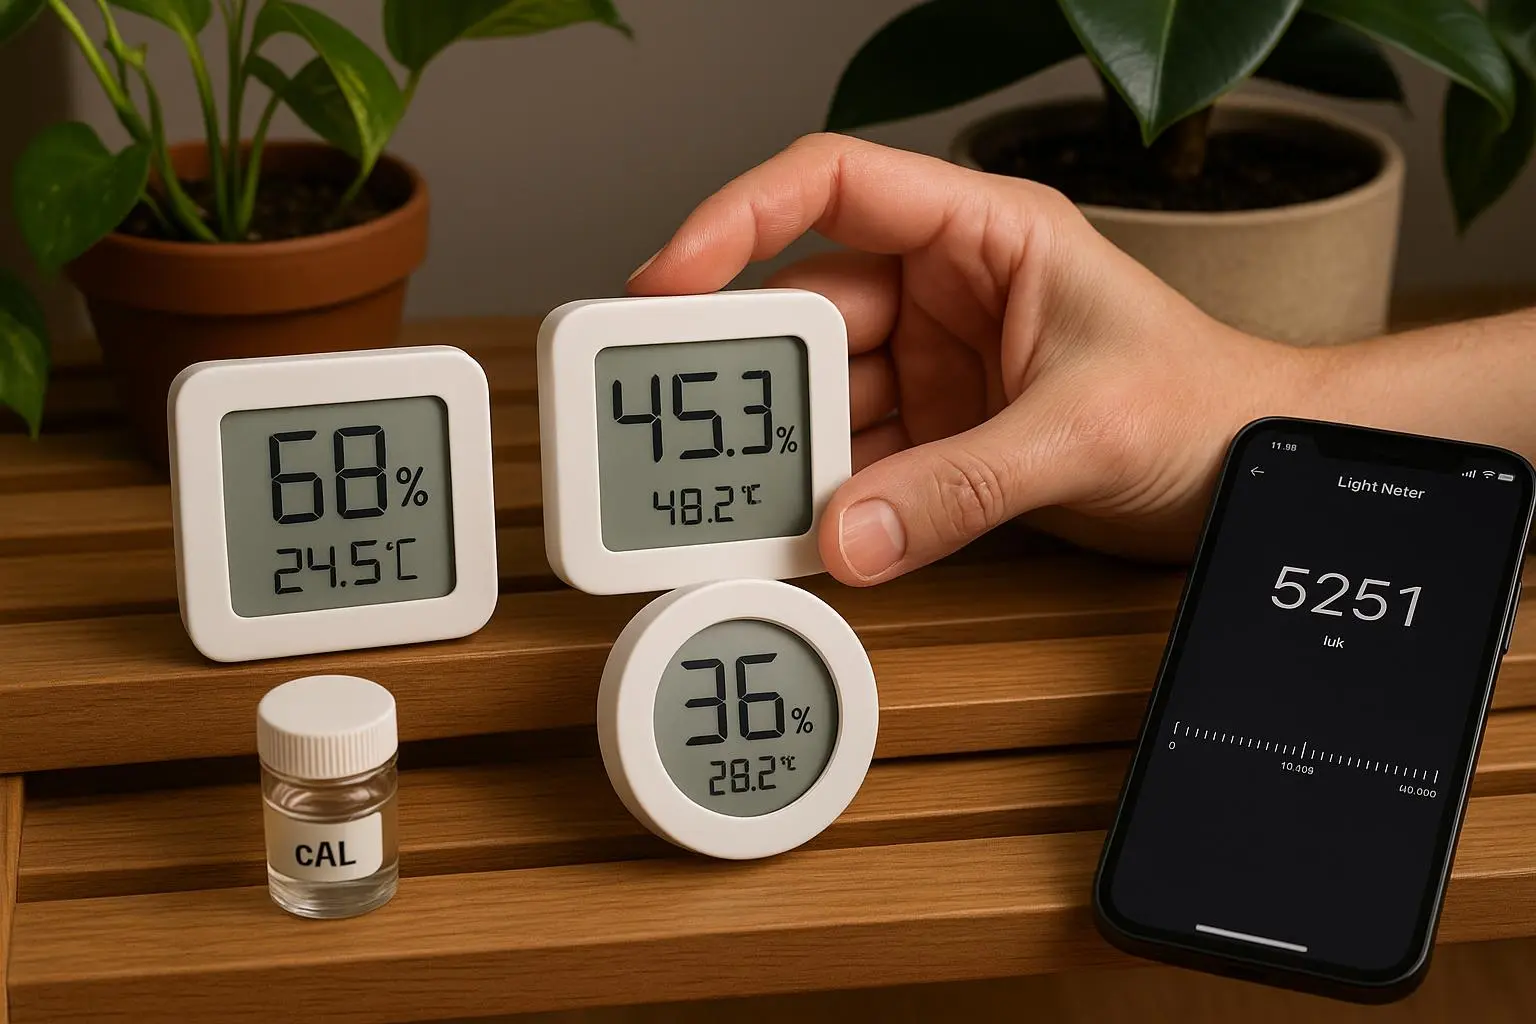
Humidity is the quiet giver or killer of many houseplants. You can nail light, water, and soil—but if the air around your tropicals isn’t right, even the best-spec’d plant can sulk or stall. That’s where cheap hygrometers enter the story. They promise to keep your humidity dialed in without breaking the bank. The question is: do they actually hold up?
I’ve spent the last six months testing budget hygrometers, calibrating them, and watching how they behave in real grow spaces—from a single pothos on a sunny desk to a 6-by-8-foot collection of tropicals in a cabinet greenhouse. The short version: with the right approach, inexpensive meters can be useful. They’re not magic, but they’re predictable tools if you treat them as such.
And yes, you’ll want more than one if you’re serious. A single meter can mislead you if it sits near a draft, a light, or a heater. A small hub or a couple of calibrated units give you a real picture of the microclimates your plants actually inhabit.
A quick aside that stuck with me: I bought a “digital” hygrometer for under $10 that claimed to do humidity and temperature. It looked like a toy, and the display was tiny. It sat on my desk for weeks, blinking faithfully. Then I moved it into a terrarium and watched the humidity swing with the door opening. It wasn’t wildly wrong, but the number would jump 8 percentage points when the door opened. It reminded me that placement and context matter as much as the sensor itself.
The core idea I want you to walk away with is simple: cheap doesn’t have to mean junk. Cheap can mean smart with a little calibration and awareness of what you’re measuring. And for many plant setups, that’s plenty.
Let’s break down what I learned, what to look for, and how to use budget meters without driving yourself crazy.
The accuracy dilemma: what cheap meters actually measure
If you buy a hygrometer under $20, you’re probably getting a digital unit that also claims temperature readouts, or you’re grabbing a quirky soil-meter that promises moisture, light, and pH in one stick. The problem is real: ambient humidity sensors aren’t all created equal, and many bargain models drift or misread under common indoor conditions.
Here’s what tends to happen in practice:
- Drift over time. Sensors in humid environments wear out. A meter that started ±3% RH can drift to ±8% RH after a year if you don’t keep it clean or recalibrate.
- Temperature cross-talk. Humidity sensors are temperature sensitive. If your room warms or cools quickly, a cheap meter can lag or overshoot readings.
- Placement bias. If the device sits near a vent, a sunny window, or a heater, you’ll see readings that aren’t representative of the plants’ actual microclimate.
- Drop-in soil meters vs. ambient RH meters. A lot of budget meters sold as “3-in-1 plant meters” primarily measure soil moisture and don’t reliably reflect ambient RH. Treat soil probes as soil moisture indicators, not humidity meters for the air around your leaves.
My own tests lined up with what most plant forums whisper about: a compact digital unit with a clean display and a dedicated ambient RH sensor did well enough after calibration, while dial-type gauges and “soil meters” often offered noisy data that didn’t translate into practical actions.
That said, the right calibration and placement can elevate a budget meter from decorative to dependable. The salt calibration trick is famously robust for ceiling-high accuracy shifts. I’ll walk you through it in a minute.
How to calibrate at home without overthinking it
Calibration isn’t fancy. It’s a repeatable, boring little ritual that makes your readings meaningful.
The salt test is the easiest route, and you can do it with stuff you already own. It creates a known 75% RH environment inside a sealed space, letting you set your digital meter to a correct baseline.
Step-by-step salt test calibration (the quick version)
Gather: table salt (non-iodized preferred), a small airtight container (like a plastic snack bag or a little jar with a lid), a spoon, and your hygrometer.
Make the environment: put a couple of tablespoons of salt in the container, then add just enough water to make a damp, sandy paste. It should not be soupy—think damp sand.
Seal and wait: place the hygrometer inside the container, keeping the sensor away from the salt paste, and seal it. Leave it undisturbed for 6–12 hours.
Read and adjust: the saturated salt solution should stabilize around 75% RH. If your meter reads 68%, you’ve got a 7% low bias. If it’s 82%, you’re over by 7%. Most meters have a calibration setting or a way to adjust the offset in the app or device. NIST’s guide is a good reference if you want the theoretical underpinning, but practically, you’re just aligning to 75%.
Small tip that saved me a headache: some meters let you input a calibration offset in the settings. If yours does, apply the offset rather than manually daily adjusting. It’s cleaner long-term.
A real-world calibration anecdote: I calibrated a $12 digital hygrometer using this salt test and an app-based calibration screen. It now tracks within 1–2% RH of my weather station in the same room. I’ve used it for orchid setups and terrarium humidity swings without second-guessing readings.
If your meter doesn’t have a calibration option, you can still log the offset you observed during the salt test and mentally adjust readings for the rest of that device’s life. It’s not perfect, but it’s better than ignoring drift.
Placement matters, too. The right spot is not near a heat vent, not in direct sun, and not in a doorway where the door opens the room’s air like a wind tunnel. You want representative air, not a blow-by reading.
Where to put a hygrometer in your grow space
Placement isn’t glamorous, but it’s the difference between useful data and guesswork.
- Height alignment. Put the meter at roughly the same height as your plant leaves, not on the floor or up near the ceiling. Microclimates exist; you want to know what the plant actually experiences.
- Shield from drafts. Avoid vents, fans, and air intake/outtake zones. A small shield or a shelf behind a plant cluster can keep readings stable.
- Terrarium or propagation boxes. If you’re monitoring a sealed or semi-sealed enclosure, you’re better off using a small probe or a dedicated inside sensor rather than the main unit outside.
- Recheck after changes. If you move your plants, switch lights, or turn on a humidifier, re-check readings a few hours later to see how the numbers settle.
What I learned here: your plant terrarium might live at 70% RH for most of the day, but the exact moment you open the lid can swing it to 85% for three minutes. If you care about microclimates, you may want more than one probe—one inside the terrarium, one near the canopy, and one in a nearby open air zone.
At-a-glance budget recommendations: it’s not just about price
I assembled a simple guide for different setups. These aren’t hard rules—your space, plant species, and tolerance to humidity will shift things—but they’re a good starting point.
- Single plant, easy monitoring: a basic digital thermo-hygrometer with a clear display and straightforward calibration is enough. Expect ±4–6% RH after occasional recalibration.
- Small collection or propagation: consider two calibrated digital meters or a small hub that can log data. You’ll want ±2–3% RH after calibrating, and you’ll appreciate the ability to compare microclimates across plants.
- Larger collections or a terrarium setup: invest in a couple of calibrated units and think about a data-logging option. You’ll get much more consistent care, and you’ll spot trends before they translate into leaf burn or rot.
Representative models (budget-friendly, commonly recommended)
- Basic digital thermo-hygrometer (affordable, large display): good for quick checks, easy to read, solid baseline accuracy after calibration.
- ThermoPro TP49 or similar: mid-range price, good battery life, reliable performance, often ±3% RH after calibration.
- Govee H5051 or similar: smart option with app-based data logging and alerts. Price a bit higher, but you get remote monitoring and trend data.
- Soil-focused meters (for instant soil moisture cues): keep these separate from ambient RH meters if your goal is air humidity, since soil meters aren’t a substitute for ambient RH readings.
Important nuance: many “soil meter” devices that claim to measure humidity in the air aren’t measuring ambient RH at all. They’re designed to gauge soil moisture. If your goal is to handle air humidity, don’t rely on those for climate decisions around the canopy.
Smartphone apps: yes or no for humidity?
You’ll see a lot of chatter about phone-app-based humidity readings. The truth is a little disappointing for most hobbyists.
Most smartphones don’t have reliable ambient humidity sensors. Apps that claim to measure RH usually pull data from online weather services or rely on poor approximations. They’re fine for rough planning, but they aren’t substitutes for a dedicated ambient hygrometer when you’re trying to optimize humidity for tropical species.
If you’re really into data, you can pair a budget hygrometer with an app that logs readings over time. A Bluetooth-enabled meter with a companion app can give you long-term trends, which is incredibly valuable for diagnosing diurnal swings and seasonal shifts.
But don’t expect a phone to give you precise, room-scale RH readings without an actual sensor in the room.
Maintenance tips that keep cheap meters usable
- Clean regularly. Dust or moisture can affect sensors. A quick wipe with a dry microfiber cloth keeps readings honest.
- Check batteries. A weak battery can cause drift or random jumps. Replace batteries as part of your quarterly routine, not when you notice a problem.
- Calibrate periodically. Once every 2–3 months is a reasonable cadence for a busy grow space; for a quiet desk plant, twice a year may be enough.
- Don’t overspec. If a meter works well for your space, don’t chase marginal improvements with a higher price tag. Your plants don’t care about the number in the corner of a display; they care about stable, usable readings and consistent care.
A quick micro-moment I ran into: I swore one meter showed a steady 60% RH in my living room. It turned out to be a bad shield from a window. After I moved the device behind a plant cluster, the readings settled at 55–57% and stayed more consistent even as the room temperature fluctuated. It was a nudge toward the bigger point: data quality beats fancy hardware any day.
A practical, at-a-glance table for quick choices
Note: the following is a summary to help you pick quickly. If you’re chasing extreme precision for a tropical showroom, you’ll want to invest in more sophisticated gear. For most home setups, calibrated budget meters do the job.
Single Plant Setup
- Device type: Basic digital thermo-hygrometer
- Typical cost: $10–$20
- Post-calibration accuracy: ±4–6% RH
- Best for: One plant, windowsill, desk, or small apartment
Small Collection or Propagation
- Device type: Calibrated digital meter or two
- Typical cost: $25–$60 total
- Post-calibration accuracy: ±2–3% RH
- Best for: A few plants, propagation boxes, or a small terrarium
Smart Monitoring for Multiple Rooms
- Device type: Bluetooth/wifi-enabled hygrometers with an app
- Typical cost: $20–$40 per unit
- Post-calibration accuracy: ±2–3% RH
- Best for: Remote monitoring, trend data, alert thresholds
Soil Moisture Meter (as a supplement, not replacement)
- Device type: Soil moisture probe
- Typical cost: $6–$25
- Post-calibration accuracy: Not applicable for ambient RH
- Best for: Tracking soil moisture, not ambient humidity
A final word here: the point isn’t to find the most expensive device. It’s to understand your space and calibrate what you’re using. A cheap meter that’s well-calibrated and well-placed is often better than a fancy meter haphazardly perched on a windowsill.
Final thoughts: are cheap hygrometers worth it?
Yes, they can be, with a healthy respect for their limitations. A budget meter isn’t a magic wand. It’s a tool that becomes useful when you calibrate it, place it thoughtfully, and use it as a gauge for trends, not a single snapshot.
If you’re starting out with one plant or you’re still learning how humidity affects your tropicals, a calibrated $10–$20 digital hygrometer is a smart, low-risk first step. If you’re growing a small collection and want to see how humidity tracks across different microclimates, add another calibrated unit or two. And if you’re chasing automation or remote monitoring, pair a budget hygrometer with a reliable app and a small hub.
For me, the sweet spot is a couple of calibrated meters at different heights in the main grow area, plus a tiny probe inside a terrarium for inside humidity. It’s not high-tech, but it’s enough to notice and fix issues before they hurt the plants. And that, in the end, is what this is all about: keeping the jungle happy without turning your space into a science lab.
Happy planting, and may your humidity be just right.
References
Bob Vila. (2023). Best hygrometers for indoor plants. Retrieved from https://www.bobvila.com/articles/best-hygrometer/
Reddit, r/houseplants. (2024). Calibration success with a $12 hygrometer. Retrieved from https://reddit.com/r/houseplants/comments/xyz789
Bob Vila. (2023). Best hygrometers for indoor plants. Home Improvement Guide.